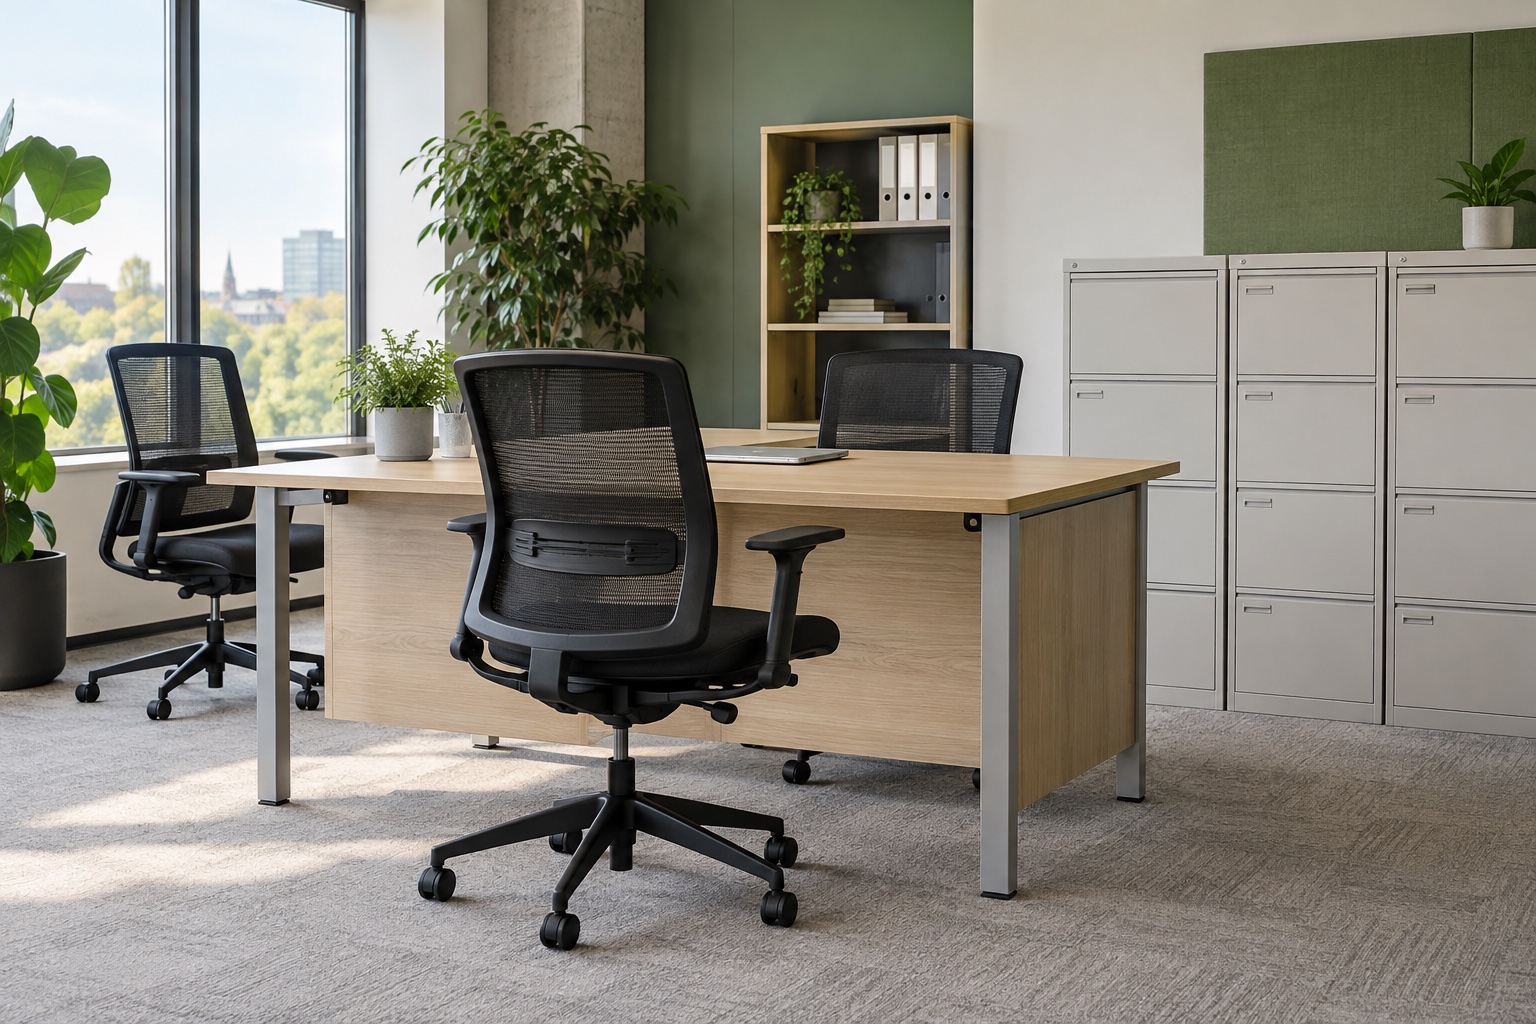
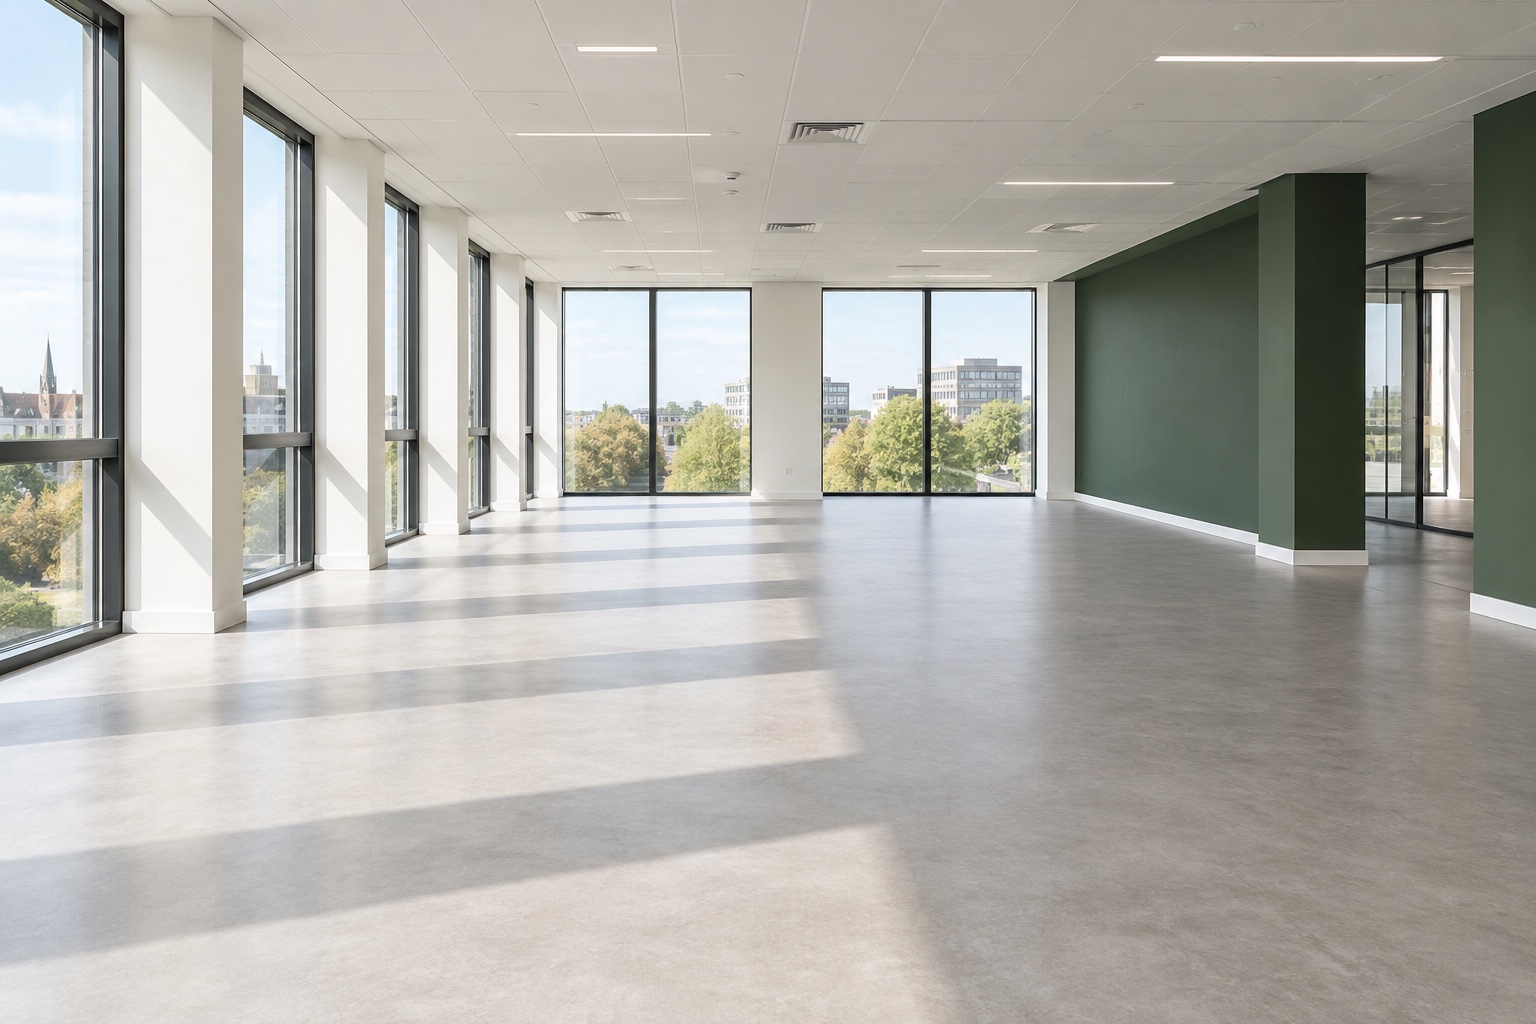
A smoother office clearance begins with three decisions: what is staying, what is moving elsewhere and what needs to be removed. Make those decisions before collection day and give everyone the same item list.
Our office clearance process explains how the item list becomes an agreed collection.
This checklist helps you prepare the unwanted contents of an office. It does not cover moving retained furniture to new premises, building work or the full obligations in an office lease.
1. Decide what stays, moves and goes
Walk through each room with someone who can approve the clearance. Use three clear labels: keep here, relocate, and remove. Include storage areas, meeting rooms and any spare furniture tucked behind working desks.
Make the labels easy to see and agree who can authorise changes. A verbal instruction to one person is easy to miss when several teams are preparing for a move. Share the same plan with the people who work in the space.
Do a separate check for furniture owned by a landlord, a leasing company or another tenant. Get the owner's agreement before adding it to the clearance list.
2. Make a useful inventory
Record each item type, quantity, location and condition. “Furniture from the second floor” is less helpful than “12 desks, 16 chairs and four filing cabinets in rooms 2A and 2B”.
Add whether items are assembled and whether they are unusually heavy, fragile or awkward to move. Keep the list up to date if the team changes its mind. This helps the clearance quote describe the actual work.
Illustrative inventory, not a completed customer job.
Download the preparation checklist3. Plan the route out
The route from the office to the collection vehicle matters. Photograph stairs, doorways, corners and the lift, and mention the floor level. If the building has a goods lift, check whether it needs to be booked and whether it can accommodate the larger items.
Ask your building contact about loading times, parking, shared entrances and any other restrictions. Tell the clearance team about these before agreeing the arrangements. Do not assume a loading bay will be available simply because it is empty during your first visit.
For a better quotation, take photos of the contents and the access together. Our office clearance photo guide explains what is useful.
4. Identify anything needing separate handling
Computers, monitors, printers and confidential documents should be identified separately from furniture and general office contents. Collection for disposal is not the same as certified data destruction.
Ask your IT or records owner to confirm what can leave the premises and what needs an agreed security process. Remove personal effects from desks and cabinets. Keep confidential papers out of ordinary waste, and explain any documentation your business requires when you enquire.
Tell the team about unusual, very heavy or potentially hazardous items before the collection is booked. Do not assume that a general office-clearance quote covers every material in the building.
5. Get ready for collection day
Confirm the item list, access arrangements, agreed date and the person who will meet the team. Keep the route clear and make sure retained items remain visibly marked.
Have a copy of the agreed scope available. If more items need clearing, raise the change before loading so any effect on the arrangements or price can be discussed.
At the end, walk through the relevant rooms against the inventory. Check the agreed contents have been removed, confirm any outstanding items and ask for the records agreed as part of the job. Keep your own permitted completion photographs if they help with your internal handover.
Send the item list, photos, postcode and access notes to the team. We’ll discuss the scope and your preferred date before collection is confirmed.
Discuss your office clearance